Angel Biscuits Recipe
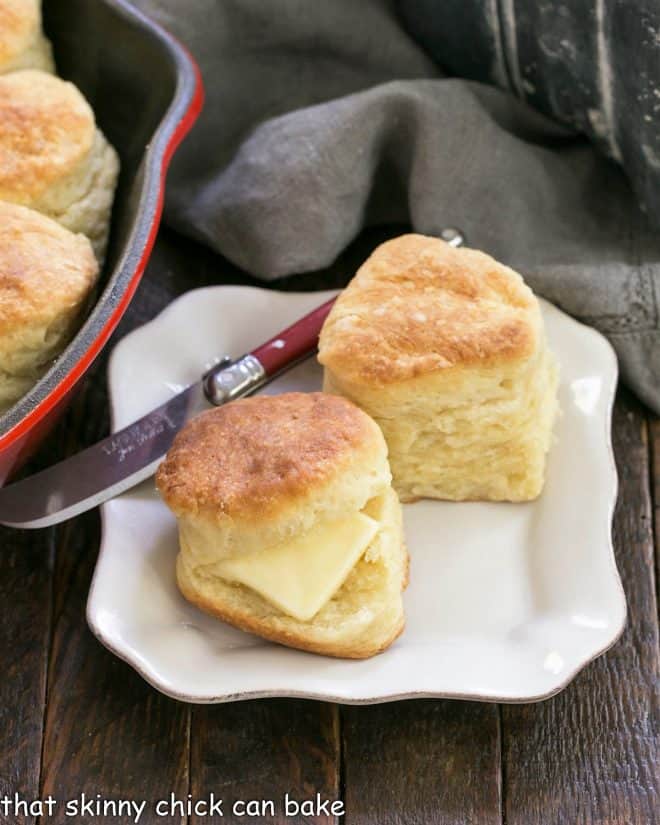
These sweet, tender Angel Biscuits rose like a dream and are light and flaky! Perfect any time of day, these Yeast Biscuits are phenomenal!
Want to make the moistest, flakiest biscuits you’ve ever eaten?? With the trio of yeast, baking powder, and baking soda, this Homemade Biscuit Recipe has layer after layer, and was a huge hit with the family!
Why You Must Make
- If you’ve ever made biscuits that were like doorstops or hockey pucks, I guarantee these will be polar opposites.
- The cream and buttermilk add extra moisture, ensuring the perfect texture. Plus, the butter tastes so much better than the shortening used in other recipes. Finally, the trio of leaveners makes these light and flaky.
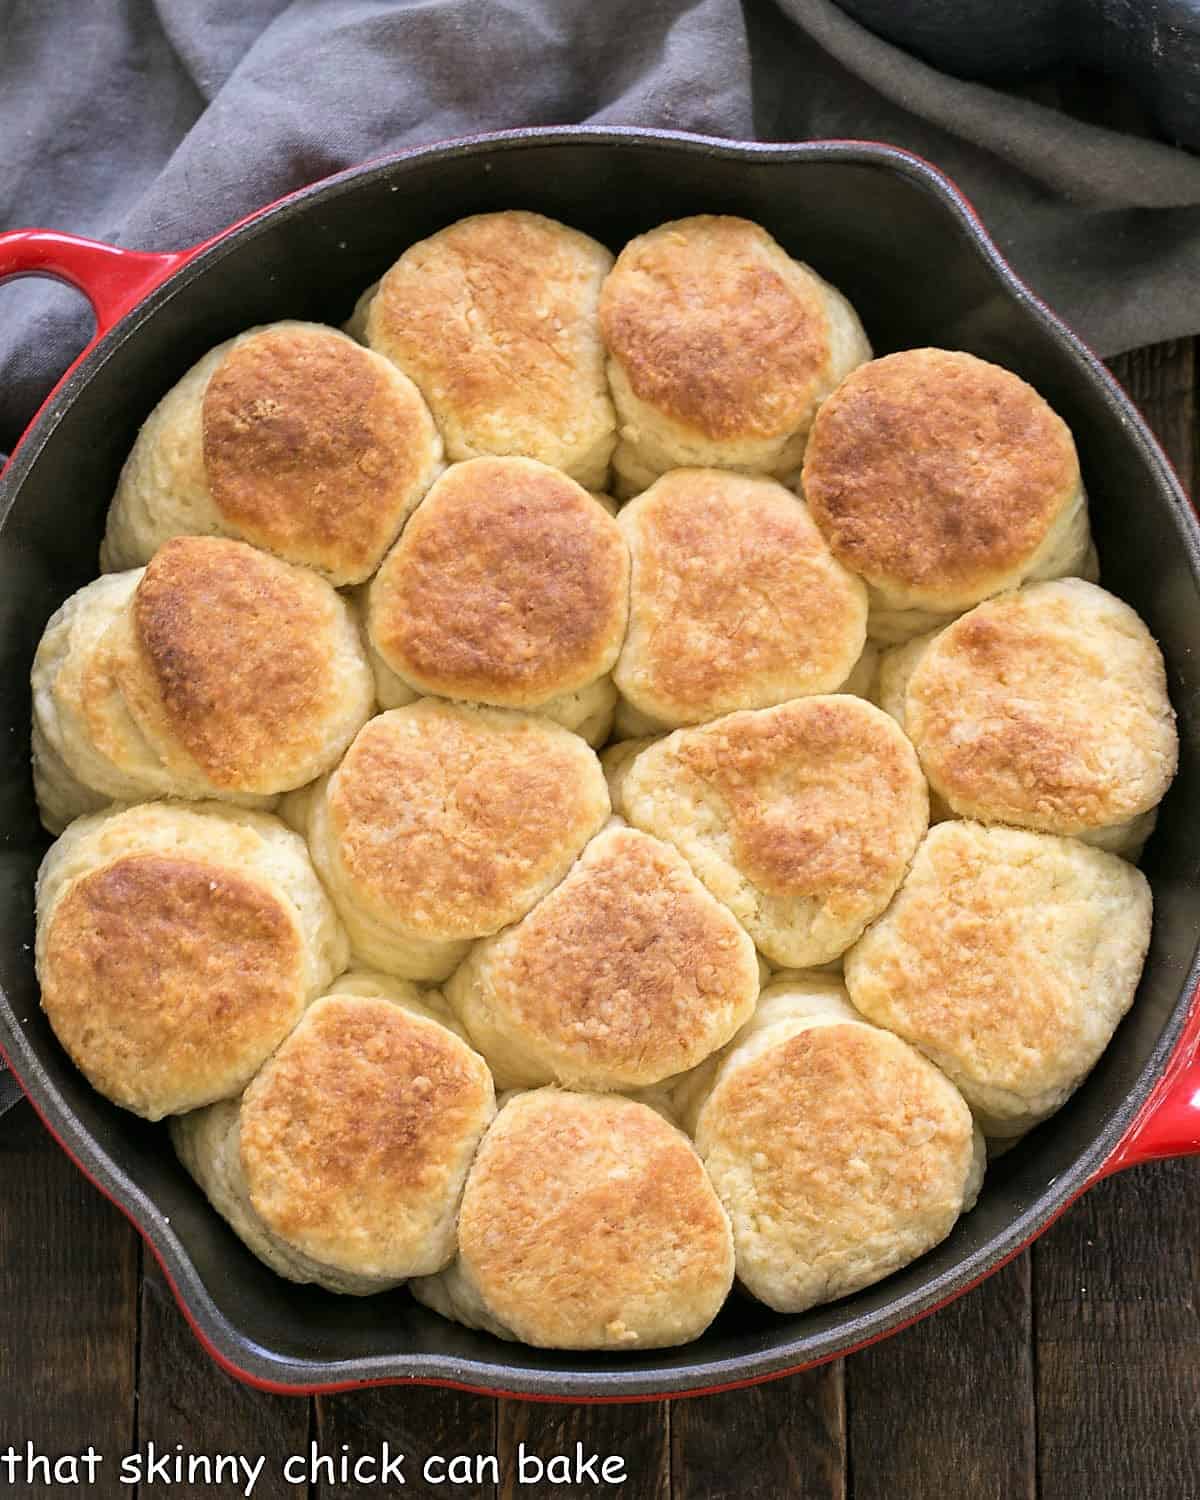
- Baking the biscuits in a skillet helps control their rise. When I baked a batch on a baking sheet with each biscuit separated from the others, many looked like mini leaning towers of Pisa!
Ingredient Notes
- Instant Yeast – May use dry active yeast, too.
- All-Purpose Flour
- Salt – I use table salt since it’s finer. If you only have kosher salt, use twice as much.
- Baking Powder – Check to see if it’s active as it often expires while on your pantry shelves. See below for a simple way to test it.
- Butter – I use salted butter.
- Heavy Cream – It should be at least 36% butterfat.
- Buttermilk – Low-fat buttermilk is fine. The acid in the buttermilk helps make for tender biscuits.
Tips for Making Angel Biscuits
- PRO-Tip: Make sure both your yeast and baking powder are fresh. Check the expiration date on the packages. For yeast, you can put a bit in warm water with a touch of sugar and see if it starts expanding. If there’s no reaction, you need new yeast. With the baking powder, add a spoonful to some hot water and expect a vigorous reaction if it’s fresh.
- Make sure not to kill the yeast by dissolving it in water that is too hot. The ideal temperature is between 110° and 115°.
- Make sure to use cold butter. The water in the butter will turn to steam in the oven making flaky biscuits.
- If you prefer shortening in your biscuits, use it instead of butter. It should be frozen for the best results. I prefer the taste of butter. You can also use half butter and half shortening.
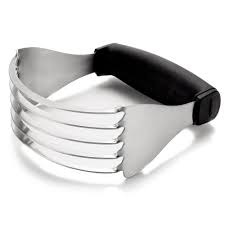
- PRO-Tip: I like to work in the butter using my fingers to make thin flat pieces that will be dispersed throughout the dough. You can always use a pastry blender.
- PRO-Tip: When cutting out the biscuits, cut straight down without twisting. When you twist, you seal the edges of the biscuit dough which will prevent them from rising properly.
- The biscuit dough is proofed in a warm place for about an hour before baking. 85°F is an ideal proofing temperature (my oven has this as a preset), though I’ve also sen 81°F/27°C listed as the universal proofing temperature.
How to Make Angel Biscuits
- Dissolve the yeast in warm water to make a paste.
- Whisk together dry ingredients.
- Cut in the butter.
- Whisk the yeast into the liquids, then add it to the dry mixture.
- Mix to form a shaggy dough.
- On a floured surface, pat out the dough into a rectangle, fold it in half, turn, and repeat two more times.
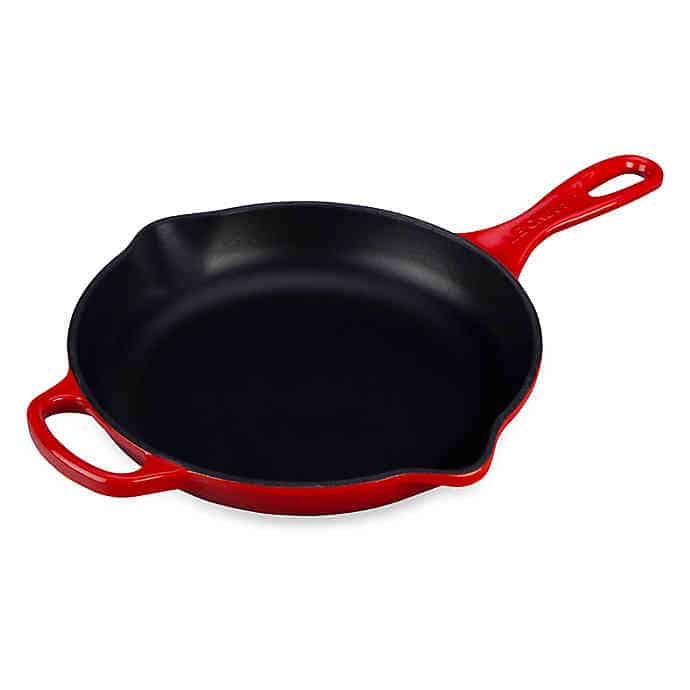
- Cut out the biscuits and place them in a cast-iron skillet (you may need a second skillet). They should touch each other.
- Proof in a warm spot for one hour.
- Bake, let cool briefly, then remove to a wire rack.
Frequently Asked Questions
Like other biscuits, angel biscuits are a quick bread leavened with either baking powder or baking soda. But unlike most biscuits, they use baking powder, baking soda, and yeast!
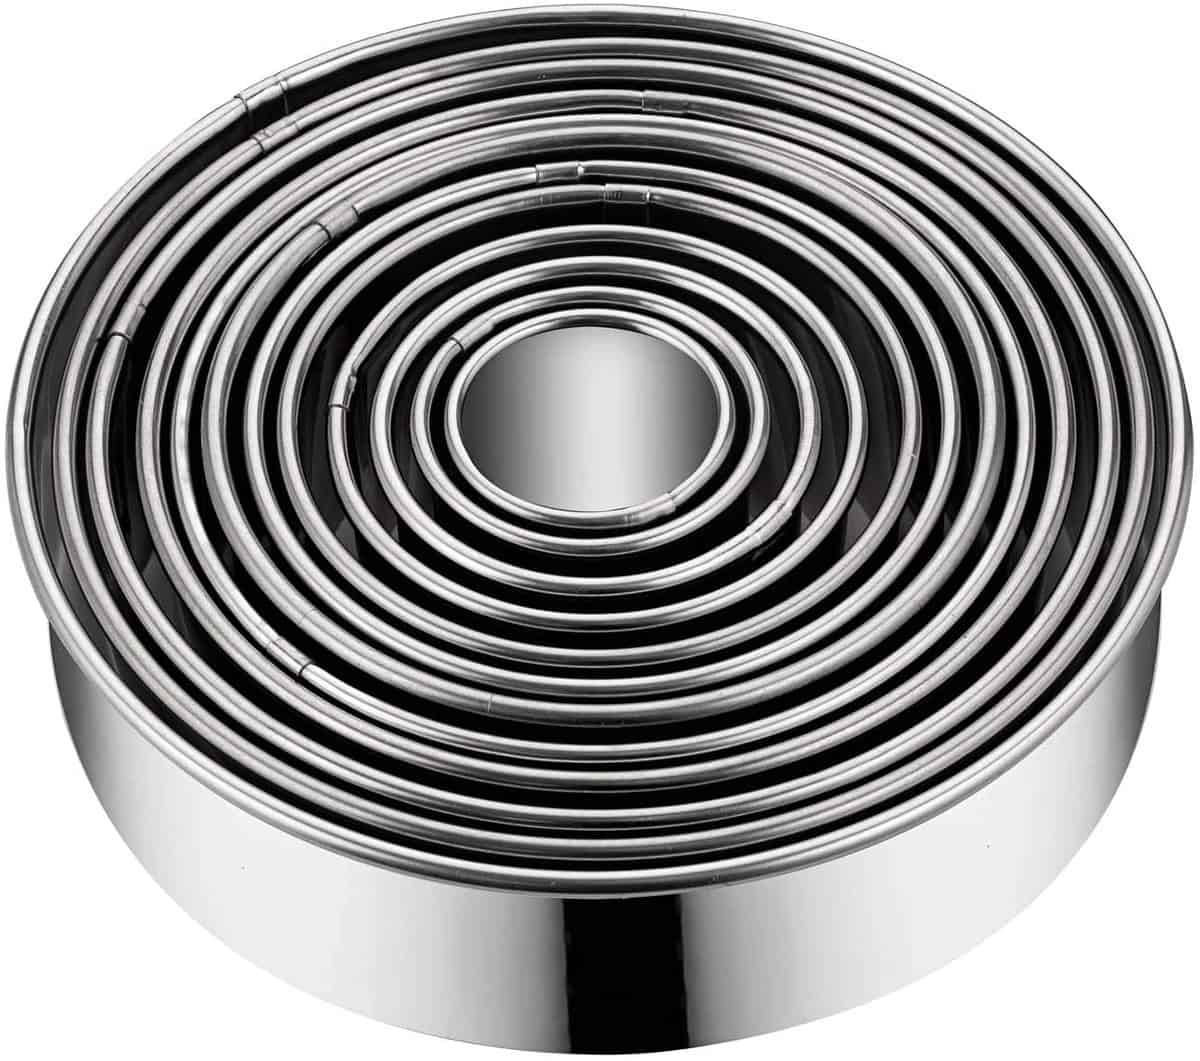
Cut straight down using sharp, round cookie or biscuit cutters, never twisting for the best results. Twisting will seal together the edge of the layers making it difficult for the biscuits to rise.
Dip the cutter in flour as needed to prevent sticking.
They will stay fresh at room temperature for up to two days if kept in an airtight container. Longer than that, it’s best to freeze them.
Yes, they freeze wonderfully. Bring out as many as you need for a meal and let them come to room temperature before gently heating in the microwave or even a few minutes in a 350° oven. They’ll keep well in the freezer for a month or two if cooled first and kept airtight.
We love them warm and topped with a pat of creamy butter, but serving them with jam or honey is wonderful, too.
You May Also Like
- Homemade Buttermilk Biscuits
- Buttermilk Goat Cheese Biscuits
- Vanilla Bean Scones
- Fresh Blackberry Scones
- More of the Best Quick Bread Recipes
Angel Biscuits Recipe
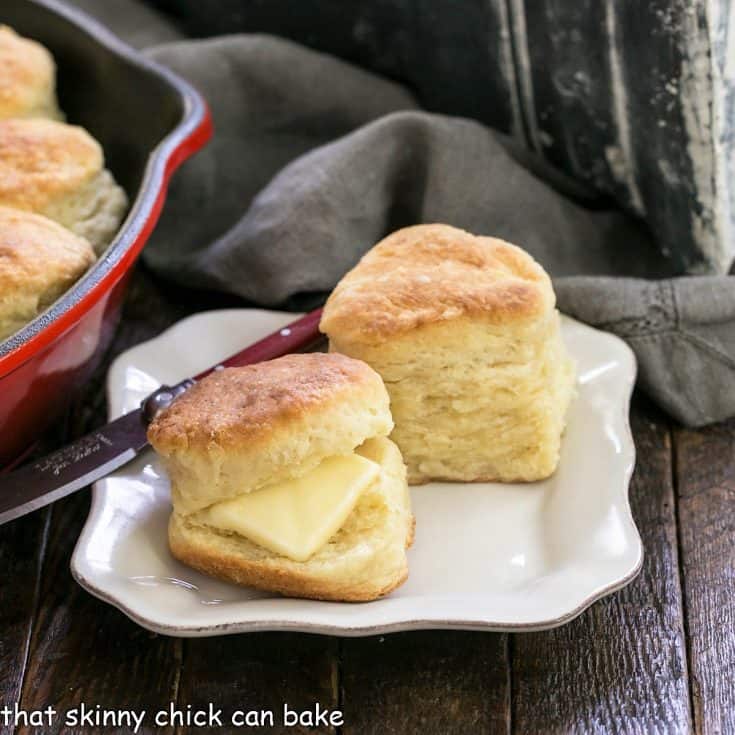
The flakiest, most tender biscuits you'll ever eat!!
Ingredients
- 2 packages instant or active yeast, 4½ teaspoons
- 3 tablespoons warm water, 110-115 degrees
- 5 cups all-purpose flour
- ¼ cup sugar
- ¾ teaspoon salt
- 2 teaspoons baking powder
- 1 teaspoon baking soda
- 1 cup cold butter cut into small cubes (plus more to melt and brush over baked biscuits if desired)
- 1 cup heavy cream
- 1 cup buttermilk
Instructions
- Dissolve the yeast in the warm water to make a paste.
- Whisk together dry ingredients in a large bowl.
- Cut in the butter, using your fingers to flatten the butter pieces until they are pea-sized (like with pie dough). Alternatively, use a pastry blender, then use your fingers to flatten any bigger pieces.
- Whisk the yeast into the liquids, then add it to the dry mixture.
- Mix using a silicone spatula to form a shaggy dough. Use your fingers to mix in any visible lumps of least.
- On a floured surface, pat out the dough into a rectangle, about an inch thick, fold in half, turn, 90° and repeat two more times.
- Cut out the biscuits straight down with a 2-inch biscuit cutter.
- Place in a cast-iron skillet (you may need a second skillet). They should touch each other.
- Proof, covered with plastic wrap, in a warm spot for one hour.
- Preheat oven to 400°.
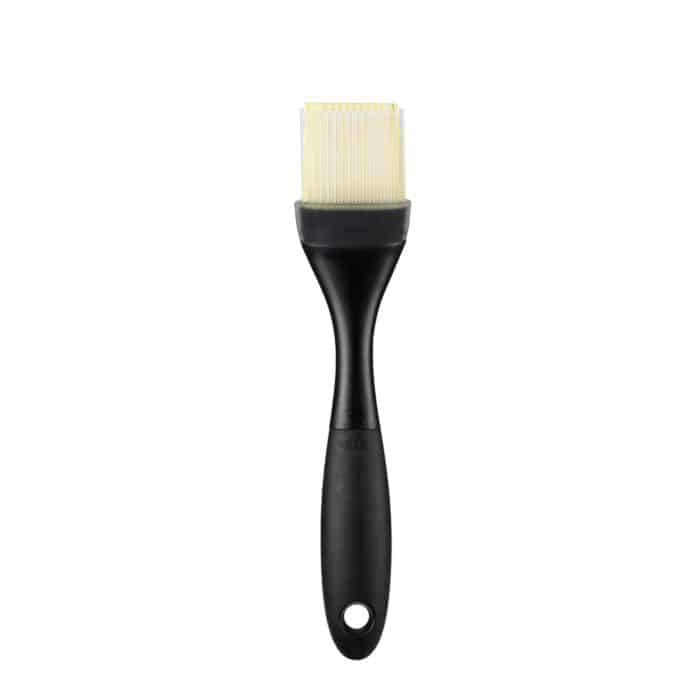
- Brush with melted butter before and after baking if desired.
- Bake until browned, 16-18 minutes.
- Cool for about 10 minutes before removing to a cooling rack.
Notes
Dip your biscuit cutter in flour if it starts to stick.
Adapted from Simply Recipes.
Recommended Products
As an Amazon Associate and member of other affiliate programs, I earn from qualifying purchases.
Nutrition Information:
Yield:
18Serving Size:
1Amount Per Serving: Calories: 279Total Fat: 15gSaturated Fat: 10gTrans Fat: 1gUnsaturated Fat: 5gCholesterol: 43mgSodium: 324mgCarbohydrates: 31gFiber: 1gSugar: 4gProtein: 5g
Thatskinnychickcanbake.com occasionally offers nutritional information for recipes contained on this site. This information is provided as a courtesy and is an estimate only. This information comes from online calculators. Although thatskinnychickcanbake.com attempts to provide accurate nutritional information, these figures are only estimates. Varying factors such as product types or brands purchased can change the nutritional information in any given recipe. Also, many recipes on thatskinnychickcanbake.com recommend toppings, which may or may not be listed as optional and nutritional information for these added toppings is not listed. Other factors may change the nutritional information such as when the salt amount is listed “to taste,” it is not calculated into the recipe as the amount will vary. Also, different online calculators can provide different results. To obtain the most accurate representation of the nutritional information in any given recipe, you should calculate the nutritional information with the actual ingredients used in your recipe. You are solely responsible for ensuring that any nutritional information obtained is accurate.






7 Comments on “Angel Biscuits Recipe”
Angel Biscuits is delicious, I am going to make it again. This is a wonderful recipe/.
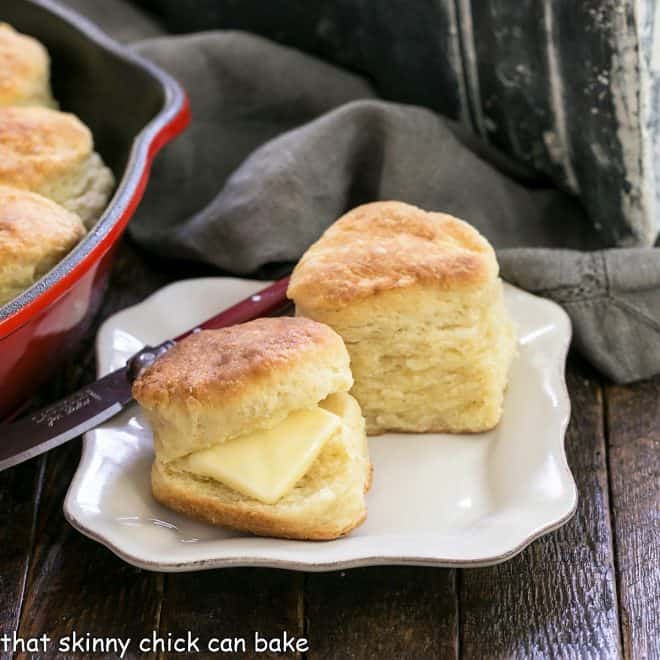
You can see all the layers of butter flavor in the biscuit. Hot out of the oven – we could polish off that whole pan! Well. maybe not but we would give it our best try.
Swoon! Who doesn’t like biscuits? Better question might be, who doesn’t LOVE biscuits? 🙂 These look terrific. And if I eat a couple I’ll turn into an angle, right? 🙂 Good stuff — thanks.
These look incredible, Liz. I just love the rise on them. I bet they taste wonderful too.
I’ve never had Angel biscuits, but they definitely look one of the most beautiful I’ve ever seen. So puffed and flaky – delicious!
I haven’t had breakfast yet… These biscuits look spectacular! I’m soooo ready for a little cooler weather and oven season again:@)
All those layers!! I am in love with flaky biscuits, Liz.