Vanilla Bean Panna Cotta
Vanilla Bean Panna Cotta is not much tougher than making a box of jello, but is so much more elegant, impressive, and delicious!
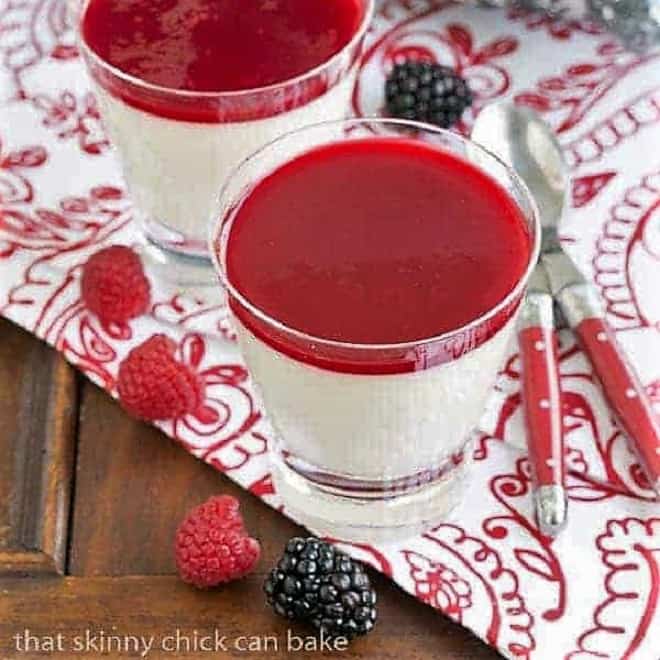
Don’t you just love desserts with visible vanilla bean seeds? Like homemade creme brulee or this splendid Panna Cotta Recipe? This beautiful layered custard dessert will have jaws dropping from its gorgeous presentation and its dreamy flavor and texture.
Vanilla Bean Panna Cotta
It was The Daring Bakers group that encouraged me to make my first Panna Cotta years ago. I had never eaten this Italian dessert, which translates to cooked cream, until I created my own.
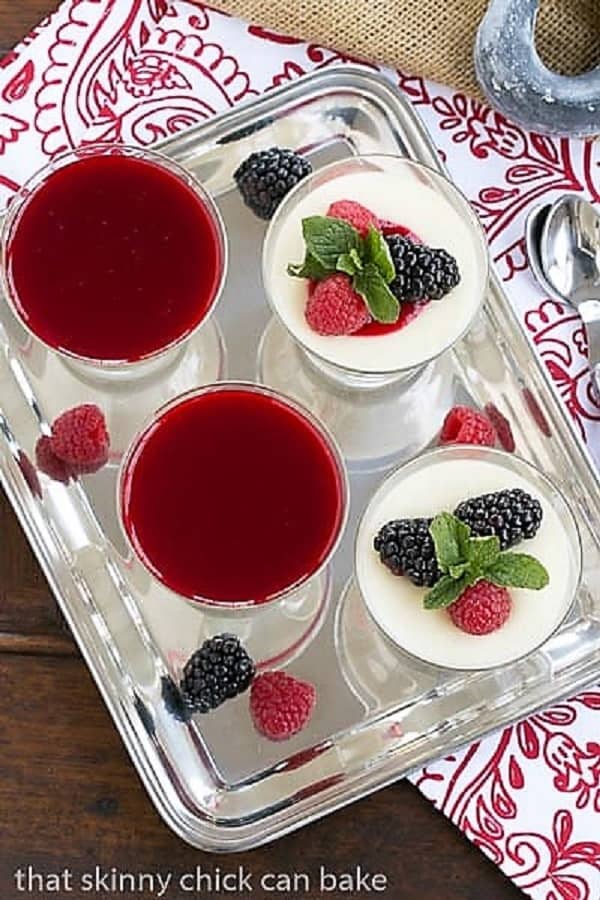
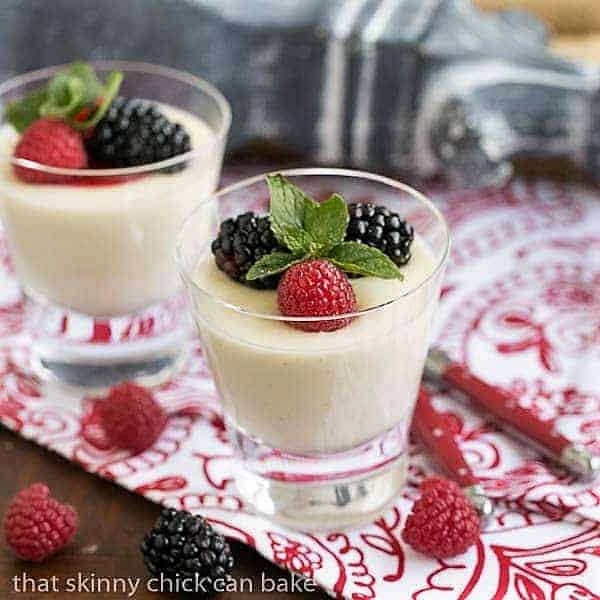
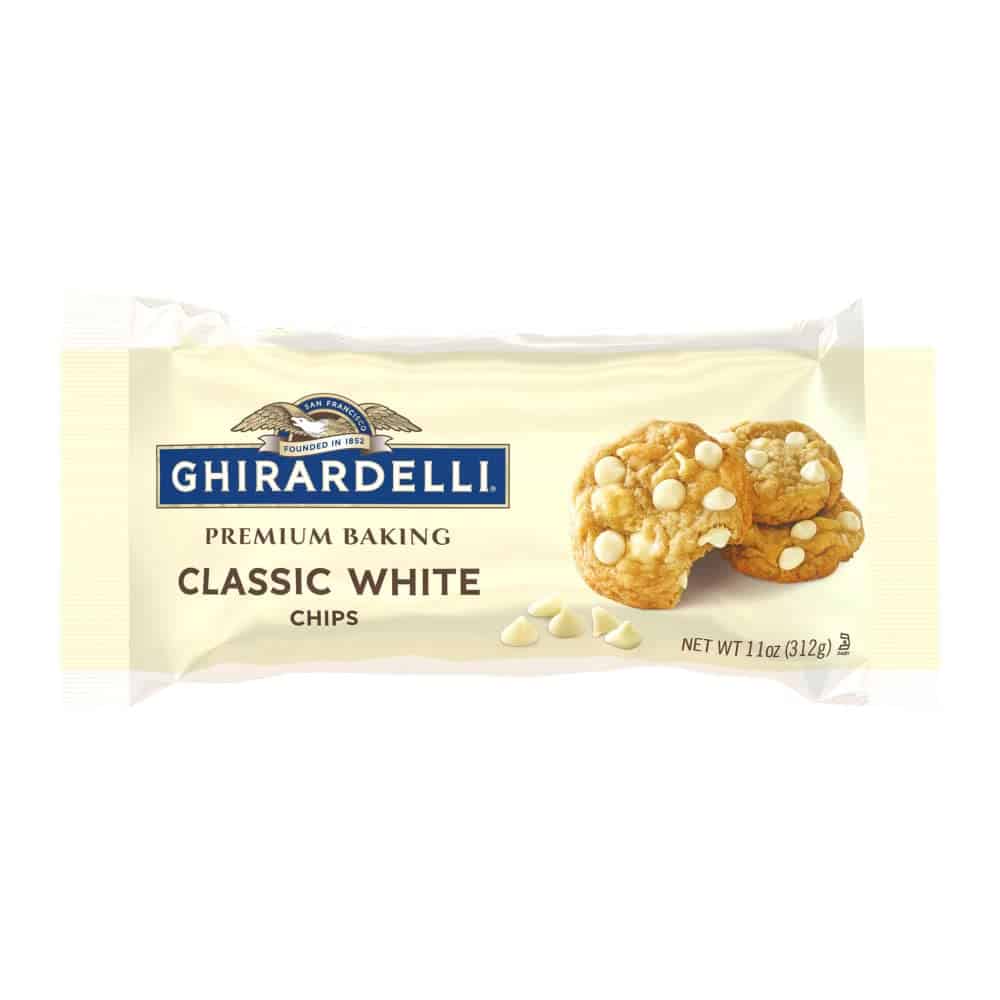
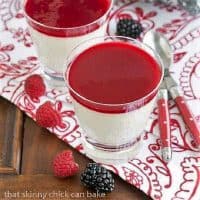
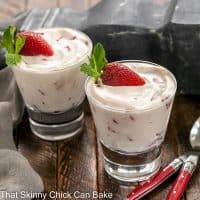
For this recipe, the silky, egg-free custard that characterizes panna cotta was thickened with gelatin and flavored with white chocolate and Vanilla Bean Paste. Half of this White Chocolate Panna Cotta was topped with a jellled raspberry sauce and the others with fresh berries and mint. A veritable hit with the two pickiest members of the household!
Why You Must Make
Our family took a holiday to New Zealand over Nick’s college break. One of our favorite meals was at a tiny, family-owned restaurant in Rotorua called Leonardo’s. We stuffed ourselves silly with bruschetta, lamb, and pasta.
- I’m certain the boys ordered something chocolate for dessert, but it was this establishment’s raspberry-topped panna cotta that caught my attention. I remember my previous attempt being more like jello than custard, and their version was quite the opposite. It turned out to be a new favorite dessert!
- You can top this Easy Panna Cotta with gelée or simply garnish with fresh berries!
- They’re perfect for a special occasion or a dinner party with friends!
Sweet and juicy macerated raspberries spilled across the top of the inverted custard we had in New Zealand and made for a memorable presentation. I was inspired to make a White Chocolate Panna Cotta.
Ingredient Notes
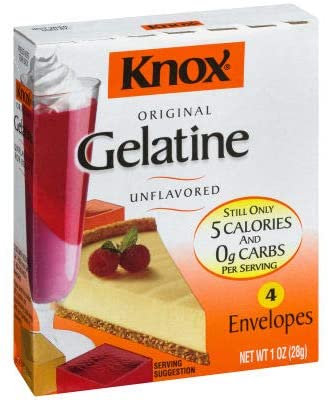
- Kitchen Staples – Sugar, Water, Unflavored Gelatin (like Knox brand)
- Whole Milk – 3½% milk fat, the natural percentage of fat when milk comes right from the cow.
- Vanilla Bean – Slice a whole vanilla bean in half length-wise, then scrape the seeds out with the edge of a table knife or another tool.
- Heavy Cream – 36-40% milk fat. Adds richness and a creamy texture.
- Honey – This sweetener has health benefits that granulated sugar does not. It contains minute amounts of pollen that may desensitize your body to these allergens. Honey’s antioxidants can also reduce inflammation in your body.
- Raspberries – I used fresh, but frozen can be used.
How to Make a Panna Cotta Recipe
To allow the panna cotta to gel properly, plain gelatin has to be dissolved in a warm liquid. For this recipe, the cream, sugar, and salt are heated in a saucepan. The gelatin is allowed to soften in a few tablespoons of water, then added to the warm cream mixture. Other flavorings are added, then the panna cotta is poured into molds or serving dishes and chilled for 4 hours or longer.
PRO-Tip: After whisking the gelatin into the cream, rub a bit of the liquid between your fingers to make sure the gelatin is dissolved before continuing. If the gelatin does not melt, the panna cotta will be loose instead of setting properly.
The right amount of butterfat in your panna cotta recipe is also key to having the most delicious results. This recipe has a combination of yogurt and cream. Others have milk and cream or milk and half and half. It is usually OK to substitute some lighter cream or half and half for the heavy cream, but using all milk will not produce the right mouthfeel and creaminess.
Don’t be tempted to add more sugar. Panna cotta is not a super sweet dessert. American palates are used to more sugar, but this panna cotta recipe reflects the traditional sweetness.
Frequently Asked Questions
Panna Cotta is a chilled, creamy, molded Italian dessert that’s also known as Cooked Cream. Using gelatin to solidify the shape, it can be infused with all sorts of delicious flavors and garnished with beautiful toppings. Since it needs time to gel in the refrigerator, panna cotta is a terrific make-ahead dessert.
Dip your molds into a dish of hot water for about 3 seconds, according to Bon Appetit. Use a thin knife to run around the perimeter of the dish, allowing the panna cotta to loosen. Carefully flip onto a dessert plate. It’s also fine to serve these right from individual dishes.
You May Also Like:
- Strawberry Vanilla Smoothies from Life Tastes Good
- Vanilla Bean Panna Cotta with Strawberry Gelee
- Perfect Vanilla Cheesecake
- Chocolate Coeur a la Creme
- More Best Dessert Recipes

Vanilla Bean Panna Cotta Recipe
White chocolate and vanilla bean paste flavor this luscious panna cotta
Ingredients
- 1 cup whipping cream
- ½ cup sugar
- ¼ teaspoon kosher salt
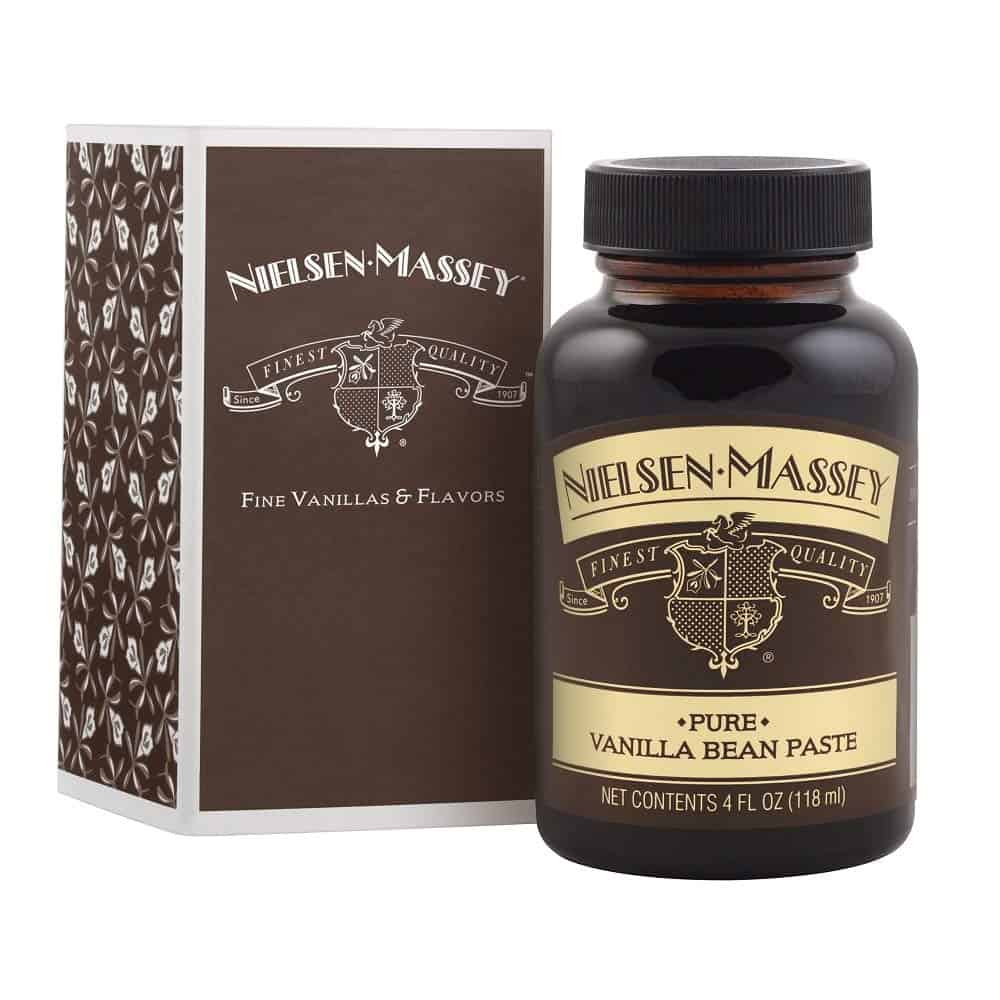
- 1 teaspoon Vanilla Bean Paste
- 1 package of unflavored, powdered gelatin
- 3 tablespoons water to bloom the gelatin
- 1-¼ cups plain Greek yogurt (use full fat for the best flavor and texture)
- 10 ounces white chocolate, chopped
- Raspberry sauce or fresh berries to garnish, optional
Instructions
- Add the cream, sugar, and salt to a large saucepan. Bring to a simmer over medium-high heat.
- Once the liquid is heated through and the sugar is dissolved, remove from heat and stir in vanilla bean paste.
- Sprinkle the gelatin over a small bowl containing 3 tablespoons of water and as soon as it softens, whisk the gelatin mixture into the warm cream mixture till dissolved. Whisk in yogurt.
- Gently melt the chocolate in a microwave-safe bowl, stopping to stir at 30-second intervals till smooth and melted. Let cool a bit before adding it to the cream mixture. Whisk till well combined.
- Carefully pour into glasses or ramekins. Chill for at least 4 hours or overnight before serving.
- Garnish with raspberry sauce, berries, and mint if desired.
Notes
Garnish as desired. I like using fresh berries and a sprig of mint. A jellied fruit topping would be nice, too, like I used in my other Panna Cotta Recipe.
Recommended Products
As an Amazon Associate and member of other affiliate programs, I earn from qualifying purchases.
Nutrition Information:
Yield:
6Serving Size:
1Amount Per Serving: Calories: 602Total Fat: 30gSaturated Fat: 18gTrans Fat: 1gUnsaturated Fat: 9gCholesterol: 62mgSodium: 209mgCarbohydrates: 60gFiber: 2gSugar: 56gProtein: 25g


40 Comments on “Vanilla Bean Panna Cotta”
Love panna cotta and this vanilla bean one looks incredible!
Vanilla bean panna cotta is delicious I have made two time, I enjoyed it.
Impossibly smooth and silky! This is the kind of dessert I would expect from a fancy restaurant, not my own kitchen! My family was impressed!
Such a beautiful dessert! It’s perfect for any occasion!
I loved it! Such a really impressive dessert for Valentine’s Day!
At which point did you add the yogurt to the cream? Before heating? After?
Sorry if you already included, but I really can’t find this step despite several read through.
So sorry, Julia! I’ve retyped the recipe to make more sense (including when to add the yogurt). Thanks for catching my omission!
What a lovely panna cotta, it looks delicious 😀
Cheers
Choc Chip Uru
This panna cotta looks creamy and dreamy. 🙂 Australia and New Zealand are on my bucket list…someday I hope to get there. I would like to travel there like you did with your kids when they are old enough to totally appreciate it all. 🙂
So pretty and perfect for Valentines Day.
Wow Liz this is a stellar dessert!
This looks amazing! Going to a dinner party tomorrow and may just have to bring this along!
Honestly my favorite vanilla flavored food is vanilla ice cream…Although your panna cotta does look sublime, Liz =)
I love Panna Cotta Liz. I’m inspired to make some now 🙂
WOW it looks so delicious and yummy! Love your pictures!
Such a pretty panna cotta, I love the raspberry layer!
oh! This panna cotta looks amazing! I love the raspberry sauce! It must be delicious! Can’t wait to give your recipe a try!
Have a wonderful day, Liz!
For some reason when I made pañna cotta, it didn’t turn out. You have inspired me to try it again. Vanilla week is a great idea!
Aside from such a delicious recipe, these photos are absolutely gorgeous!! I love the styling with both toppings. So beautiful, Liz!
Beautiful panna cotta with a luscious raspberry sauce. Wish I had these for my dessert tonight! 🙂
This is an amazing recipe! I can’t wait to make this
White chocolate + vanilla bean = total perfection in one cup. Love it so much, Liz!
LOVE the color. This is so perfect for Valentine’s Day
I love pannacota…and yours look so pretty with the layer of berry sauce and fresh berries…I like the idea of using yogurt…
Hope you are having a great week Liz 🙂
Liz, this vanilla bean panna cotta is GORGEOUS! I have yet to make some myself but now that I have the Nielsen-Massey Vanilla Bean Paste, I’ve got to try this right?! love this, so beautiful and elegant looking!
Oh dear, Liz! Sorry that your attempt in the brioche molds slumped into a blob!
You got there in the end, though. I love the idea of making a panacotta with Greek yoghurt!
What a gorgeous treat! I’ve never made panna cotta, but it looks like a decadent treat!
These look so good. I’m a sucker for panna cotta and would choose it over pudding anytime.
I love a really good vanilla ice cream. The bean seeds are a must.
Panna Cotta, a recipe so easy and so complicated! So easy because is easy to make it and complicated because there is so many ways to cook it and a only a few are gorgeous ! Yours looks terrific Liz !
Like a lot the Vainille’s idea !
What a pretty dish! I love panna cotta — such nice flavor. The raspberry sauce is an inspired idea. Thanks for this.
Your panna cotta is just gorgeous, Liz!
Sweet and delicious and raspberries are the perfect little tart compliment to this dessert.
I made panna cotta yesterday too and styled my photo with the exact same tea towel (Crate & Barrel Valentine’s Day 2014 catalogue :p). Your photos made me smile. Great minds think alike?
This looks awesome Liz! I want to lick the screen your pictures are so pretty!
Delectable Liz:) What an aromatic event. I think I can smell the scent of vanilla from here. I’ve never tried Vanilla Bean Paste. I think it’s high time I do though. I’m curious, is it colorless?
Thanks for sharing, Liz…
My kind of dessert…and you did it so beautifully! Will need to try this one soon, or maybe this could be my birthday dessert this year…it has everything I love and nothing I don’t! 🙂
SImply damn delicious and fancy vanilla bean panna cotta….
fyi, Indonesia is one of the largest vanilla bean exportir, but we rarely seen it in the market thou..
So pretty with the fresh fruit, but I think I’ll have one with the raspberry sauce please:@)
Simply delicious! I love raspberry sauce.